Scripting a Documentary: Whispers from Salem

Last week, I built a script outline with my research notes. For the script outline, I cut apart the research notes and glued passages where they would best fit into the three-act story template. So, I followed the organized script outline to draft a rough script for my mini-documentary, Whispers from Salem.
However, my goal for the rough script was not to write a perfect narrative. Instead, I practically word-vomited the information I would use for each small section of the script. I used scripto to develop a professional script. The format from scripto also allows space for commentary on each side of the dialogue. Using the “Studio” template on scripto, I can also view the estimated air time it should take for the script to read aloud. The first draft was about eleven pages long, with nearly twenty minutes of reading time.
A twenty-minute documentary would likely be too long to complete in a few weeks, but I needed to edit the script anyway. So I printed a copy of my first draft from Scripto and began editing the dialogue with a pen. I focused more on creating a dialogue that sounds more natural than monotonous and robotic. I also wanted to condense the information as much as possible.
After editing and writing the second draft, my script was only eight pages, with a reading time near fifteen minutes. However, my aim for the project was only up to ten minutes of video, so the script needed to be about eight to nine minutes of reading time. I continued condensing the dialogue, cutting out unnecessary information and shortening passages. Unfortunately, condensing the script meant that much of the information wouldn’t be presented after all.
Each edited script after the second draft proved more difficult than the last for me to shorten. I could only condense one page per editing session for fear of erasing too much necessary information. Nonetheless, the final script is five pages long and has under eight minutes of reading time. By this point, of course, I had rewritten the script so many times that I wasn’t sure if it would make sense to someone who hadn’t researched the subject. So I called in reinforcements from my father, who loves all things lore, for feedback on the flow and hierarchy of the script.
After editing the script to my satisfaction, I took a break from overthinking by searching for graphics online. Luckily, many illustrations depicted the events of the Salem Witch Trials. But unfortunately, most of these images were illustrated and published in the late 1800s, nearly two centuries after the witch trials. Nonetheless, these images describe the events well and provide a simple, pen-and-paper feel.
I sourced many of the graphics from the Salem Witch Trials Documentary Archives and Transcription Project website. This website also links to other relevant sites, such as the Massachusetts Historical Society and other collections of court records. I also used pexels and pixabay to source royalty-free footage, but I only found one usable video from each source. Unsplash, pexels, and pixabay didn’t offer satisfactory imagery for the video, although I will check again with more keywords.
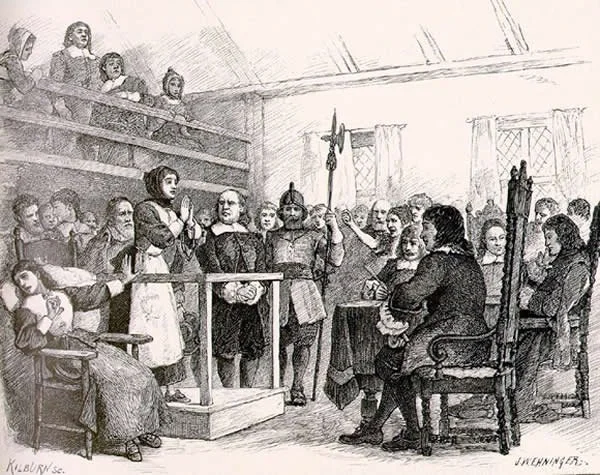
Martha Cory interrogated by Judge John Hathorne
I created a portfolio page on my blog website to gather my images and videos. Then, I organized the graphics according to the hierarchy of my three-act story template. I also added short descriptions to each graphic to help with my pre-production script later.
Since I am considering turning this into a short series, I wanted to add a title sequence. For now, I want a short video of a girl whispering into another girl’s ear, followed by a smoky entrance of the title. I included a title card in the online graphics portfolio, but I’m not sold on using that particular font.
I printed out my finalized script and began marking potential graphics and sound effects. On the left side of the script, I only noted sound effects that would make the video more interesting. On the right side of the script, I included graphics and footage that would benefit the documentary.
Initially, I was going to create a traditional storyboard for this documentary. However, I chose to use a pre-production script since my options for graphics are limited. The pre-production script will still guide the recording of additional footage, but I don’t need to stress over the details of my storyboard not matching well with found footage. I started with a table in Microsoft Word to create a pre-production script. The table includes Narration, Visuals, and Sound. Then, using the notes added to my script, I divvied up the script into sections on the pre-production table. Next, following the written notes on my printed script, I added potential graphics and sound effects to the table. I will continue to add graphics and sound effects throughout the filming process.
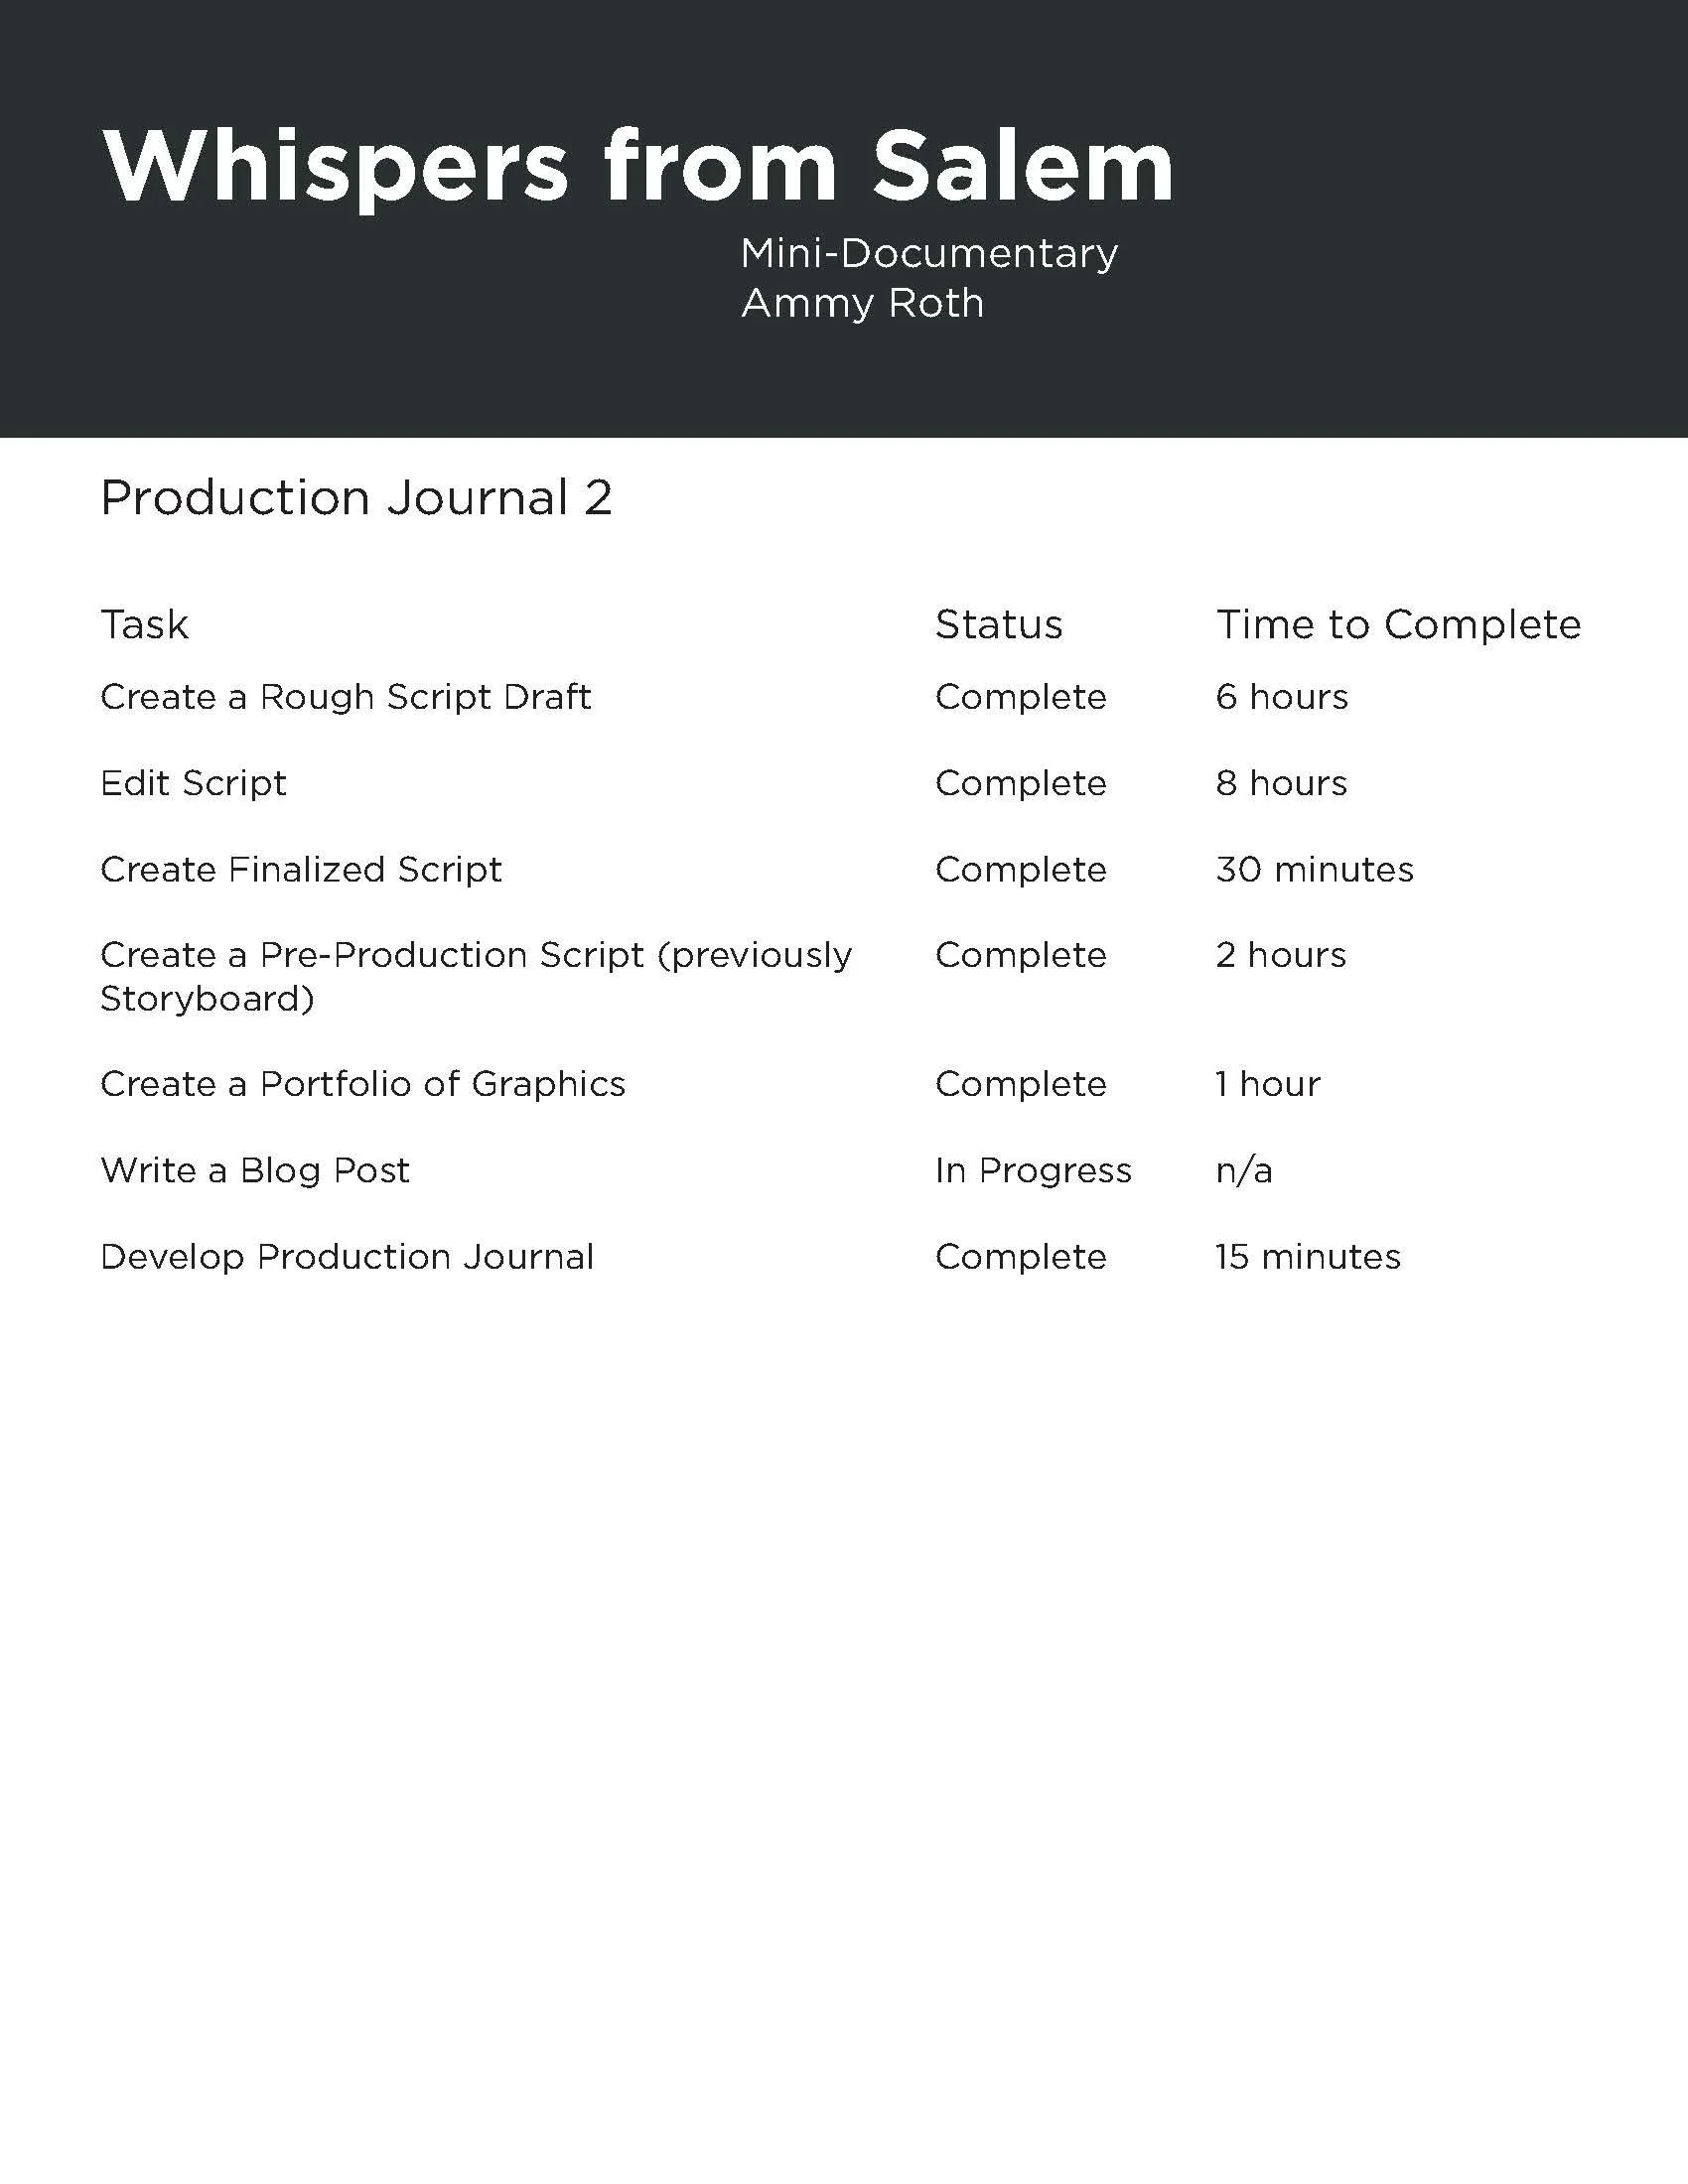
Finally, I created a second Production Journal to keep me on track with my artifacts. I am no longer planning a visit to Salem for filming. Next week, though, I will be traveling elsewhere, so I’m flipping my production schedule around. I will be filming as much as possible within the next few days to capture some b-roll and match them with my pre-production script. Then, I will start audio recording during my travels. Unfortunately, since my house is currently under construction, there will be too much background to record quality audio.