Cinemagraphs
Cinemagraphs are still photographs in which a minor and repeated movement occurs, forming a video clip. These are made by taking a series of photographs or a video recording, and, using image editing software, compositing the photographs or the video frames into a seamless loop of sequential frames.
The Secret Garden
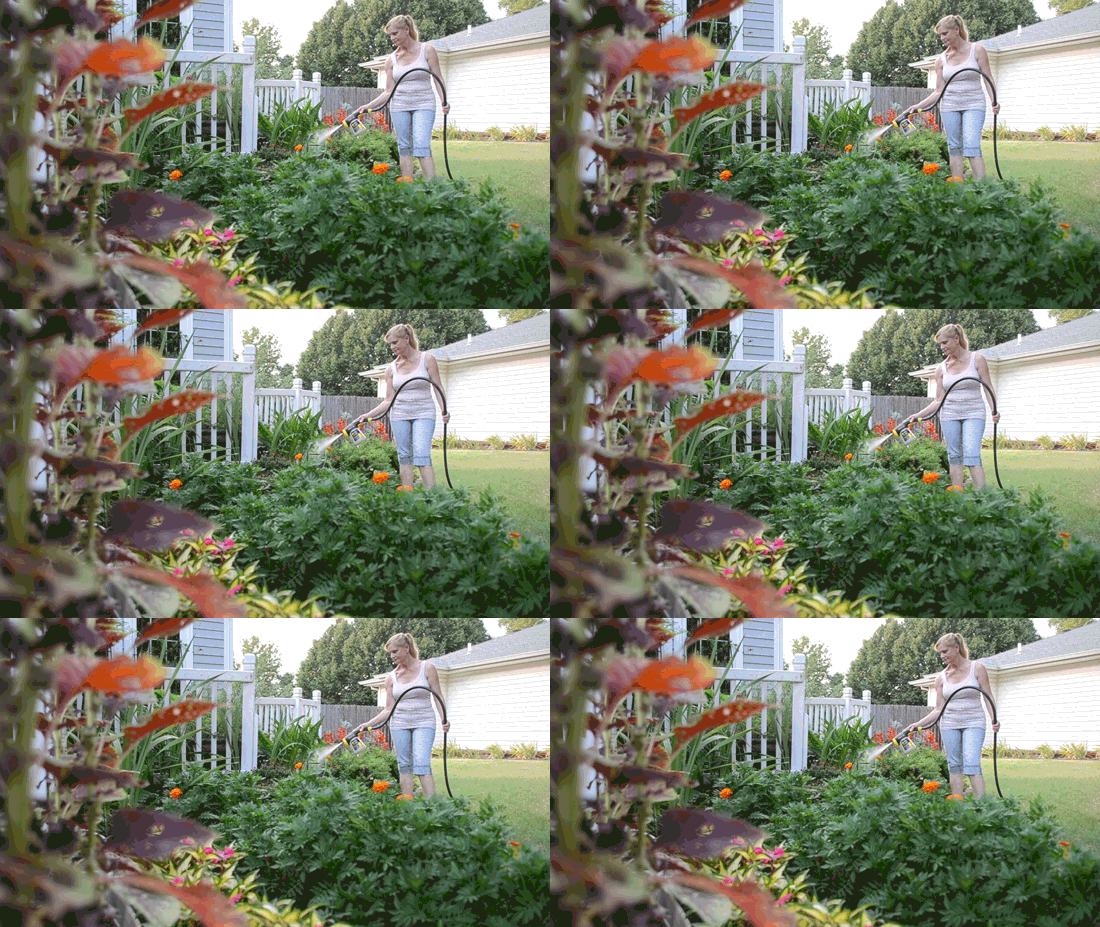
In this piece, my generous family friend let me record her watering her garden. Everything moved significantly with the Oklahoma wind, so I needed enough footage to capture a few seconds of gentle motion. The recording ended up being about four minutes long, and I spent more time scrubbing through footage for the best few seconds to use. Then, in Adobe Photoshop, I duplicated the paused video for my still image and pasted this to a new layer.
Due to video lagging, I cut the footage down to about fifteen seconds of usable garden movements. Then, I selected my still image layer and used “Select and Mask” to choose the sections I wanted to keep (Select > Select and Mask). Initially, I tried to freeze the Amaranth plant on the lefthand side of the screen and the subject and neighboring house. I noticed that the bushes didn’t move much throughout the video, but the Amaranth swayed behind the still image. So, I chose to freeze the bushes, trees, and person, instead. The resulting image featured the movement of the Amaranth and taller portions of the garden.
I cut down the video length again, this time to a little more than three seconds. I also had to shorten the duration of the still image layer to match. At the end of the three-second video, the frame jolted noticeably to the beginning of the looping sequence. To fix this, I cut the footage approximately in half on the timeline. I moved the second half to the starting point and aligned the first half to follow it. With the footage jolting in the middle, I joined the two sections with a one-second-long crossfade.
Prepare for Takeoff
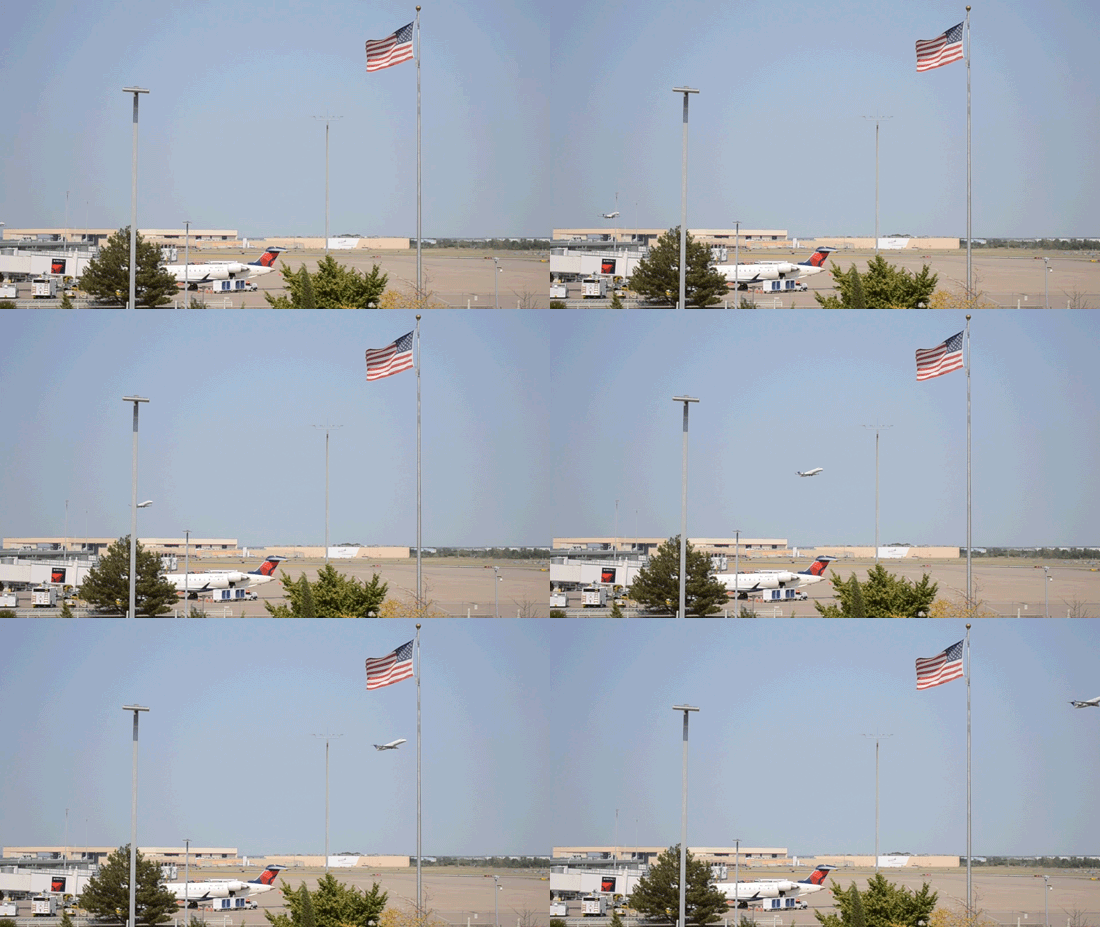
I waited outside the local airport to capture a few moments of airplanes taking off for these two pieces. I ended up with four videos of takeoffs but used three just for stills. Next, I opened my video of the larger plane takeoff in QuickTime Player and trimmed it to the correct length.
Then, in Adobe AfterEffects, I opened my trimmed video and started scrubbing for a good frame to freeze. After duplicating the video layer, I chose a frame where I could see folds in the flag. Then, I set the layer to freeze-frame in the time panel. Next, I hid the video layer and began creating a mask around the parts of the still image that would need to disappear for the video to show through. The wind shook my camera enough that the mask narrowed around the poles exposed the moving poles during the first six frames of the video. So, I duplicated the still image layer and deleted the mask. Next, I created a new mask on this layer that exposed only the beginning six plane takeoff frames. Then, I set the new layer to end at the seventh frame, so the moving poles aren’t visible.
Into the Woods
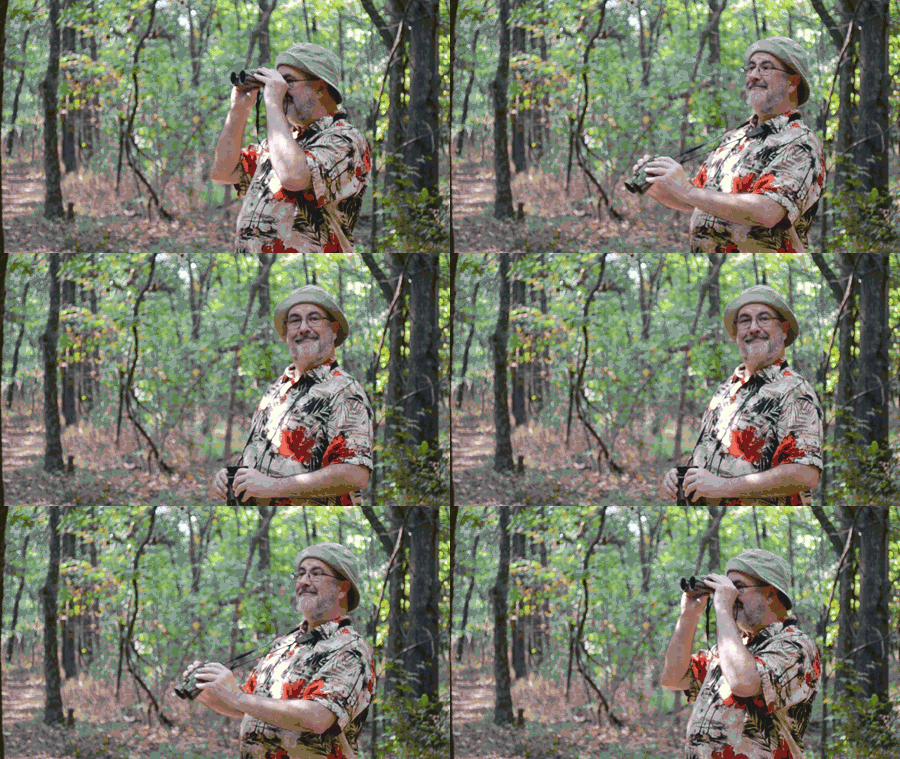
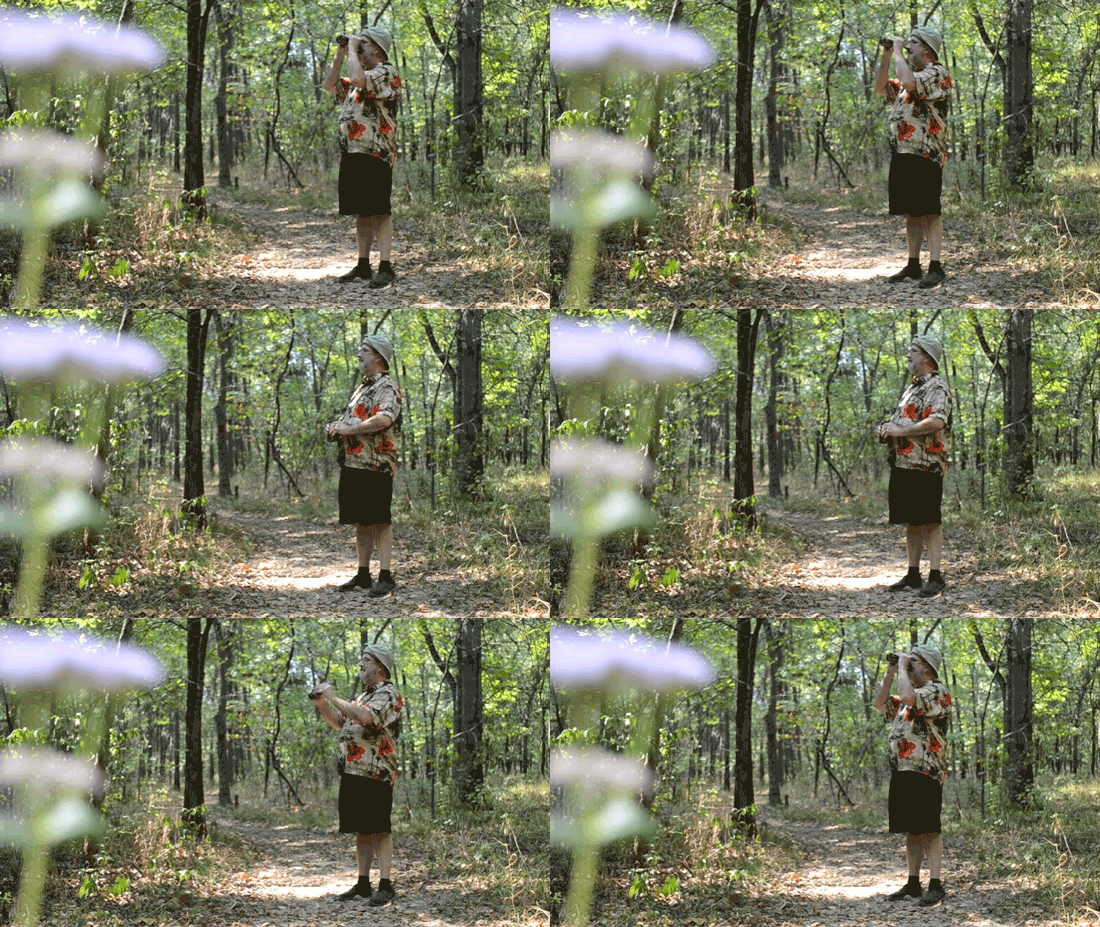
Onto those final two cinemagraphs: my father, Larry, does all sorts of goofy YouTube videos. His main characters are Marty J. Maxwell and Mister Larry on his Rothline channel. Coincidentally, our setting for this adventure is one of the locations used in his Mister Larry Visits Bigfoot video. I took three videos of him: one with him holding up his binoculars and lowering them down, another where he looks to the camera while lowering the binoculars, and the third where he runs in circles (this did not get used, but is hysterical). I trimmed all of these to the appropriate lengths for creating cinemagraphs.
For the first of these cinemagraphs, I opened the first video in AfterEffects. Then, I duplicated the video layer thrice and created a freeze-frame where Mister Larry holds up the binoculars and a freeze-frame where he sets them down. Then, I hid those two layers and created a mask on my third duplicate to eliminate the vicinity around Mister Larry. Finally, I hid this layer to scrub the footage for the best section for the cinemagraph.
I trimmed back the footage to start a few frames before he starts to lower the binoculars and ended the footage just after he fully lowers the binoculars. I duplicated the video layer and created a time reverse setting. Then, I edited the time stretch to 70 and -70 on each video. Next, I moved the stills of Mister Larry holding up the binoculars and lowering them to the bottom layers. I started the first video five frames after the start of the composition, followed by the reversed video five frames after the end of the first video.
I stretched the still of Mister Larry holding up the binoculars from the beginning to five frames following the end of the reversed video. Then, I set the still of him lowering his binoculars to encompass the gap between the two video layers. I stretched the masked still image from the beginning of the first video to the end of the reversed video. I followed the same process in the second piece but edited the time stretch to 50 and -50.


