Mixing Motion: the Sky is the Limit
Reading
I love filmmaking and storytelling because I can explore the wildest places. Animation, however, offers a medium where I don’t have to limit my wildest imagination to the laws of physics (without risking death or bodily injury). With all of that possibility comes so many opportunities to show off your creativity. On the contrary, with the flood gates opened to your imagination, the most challenging part will be convincing yourself to be disciplined and intentional with your art.
According to Liz Blazer in Animated Storytelling, the most well-crafted stories limit storytelling choices to the most efficient and pertinent assets rather than attempting to boggle the audience with wild and untamed storylines. People crave stability, so the best storytellers establish structure in their world. Audiences will follow along, even if these rules don’t comply with the natural world.
Of course, structural storytelling won’t keep the audience’s attention for long if you don’t supplement your piece with intriguing visuals. Therefore, every visual you offer should make sense within your storyline and in your new world. Shot composition focuses on revealing information to your audience, but you choose when something should be exposed. Framing keeps the audience interested, especially with dynamic framing. The audience wants to find the essential pieces to your puzzle. Think of staging as a way of adding hints to your viewers: they want to look, so let them interact with your world.
However, each hint or puzzle piece you give should fit together smoothly. Each frame continues smoothly to the following, and unnecessary information is limited.
Research
Here’s something to practice with beginning animation: cinemagraphs. Creators Kevin Burg and Jamie Beck describe cinemagraphs as “living photographs.” Essentially, they edited videos by duplicating a still image from the video and adding a living moment. The resulting image highlights something specific about that moment in time.
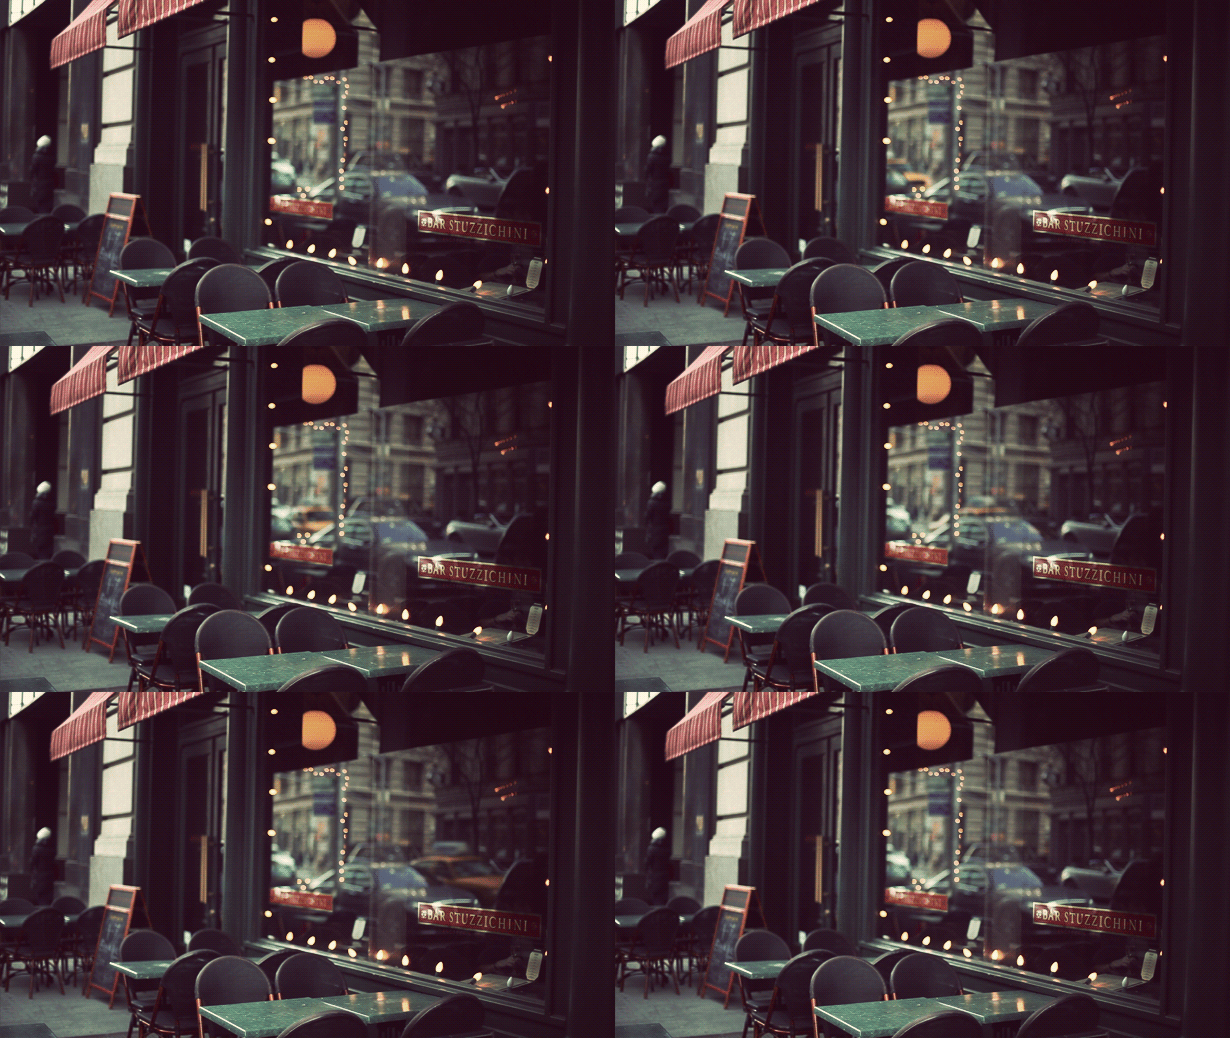
This cinemagraph cleverly uses the reflection in a bar window to add subtle but intriguing movement. The angle is perfect for this particular moment because the audience won’t be distracted by the happenings inside the bar and can stay focused on exploring the peaceful space.
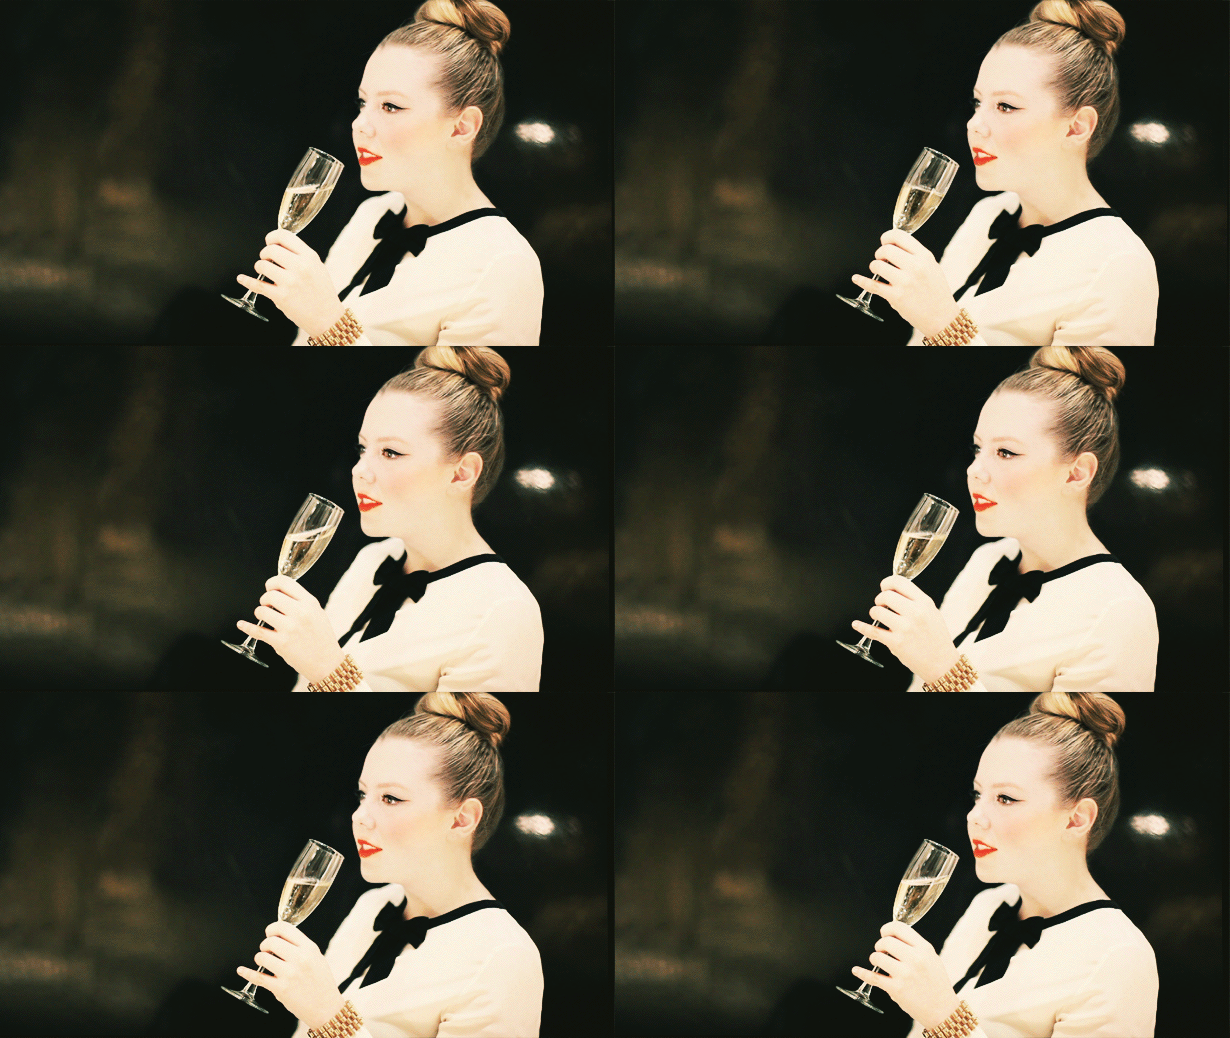
The composition in this piece relies heavily on the rule of thirds, but a more distinct background might be distracting against the slight movement of the champagne. I think it could be improved with eye movement, but the minimalism used here is still elegant.
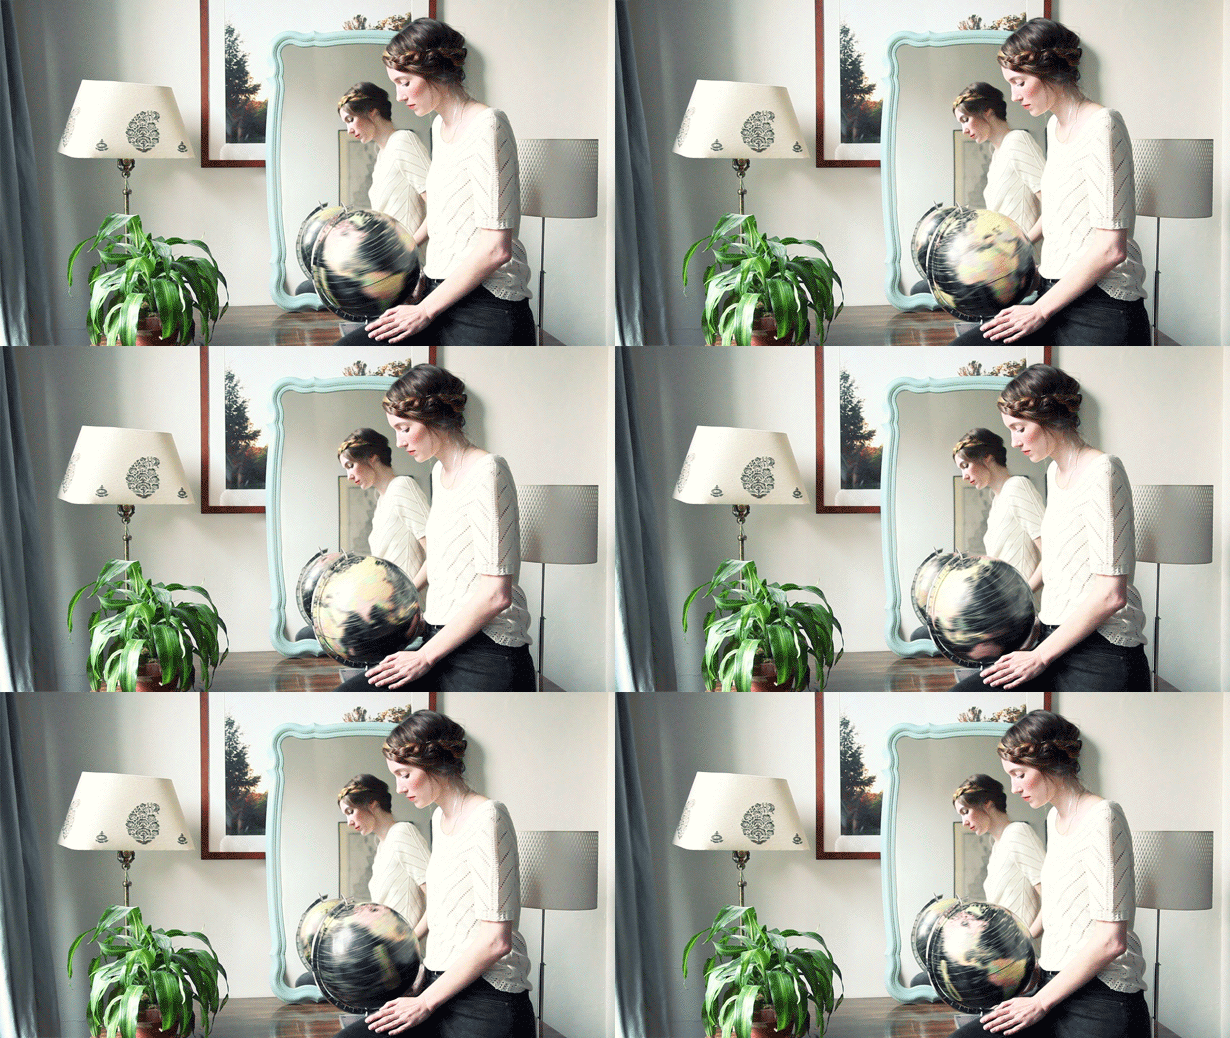
Here, the distinctness of the spinning globe distracts the audience from noticing more subtle movements, like the sway of the curtain. But, the motion draws your eye to the globe, where you will see the model’s arm is also moving. So now, you’re intrigued at what else might be moving, and the composition successfully draws attention away from the conspicuous to subtle movements.
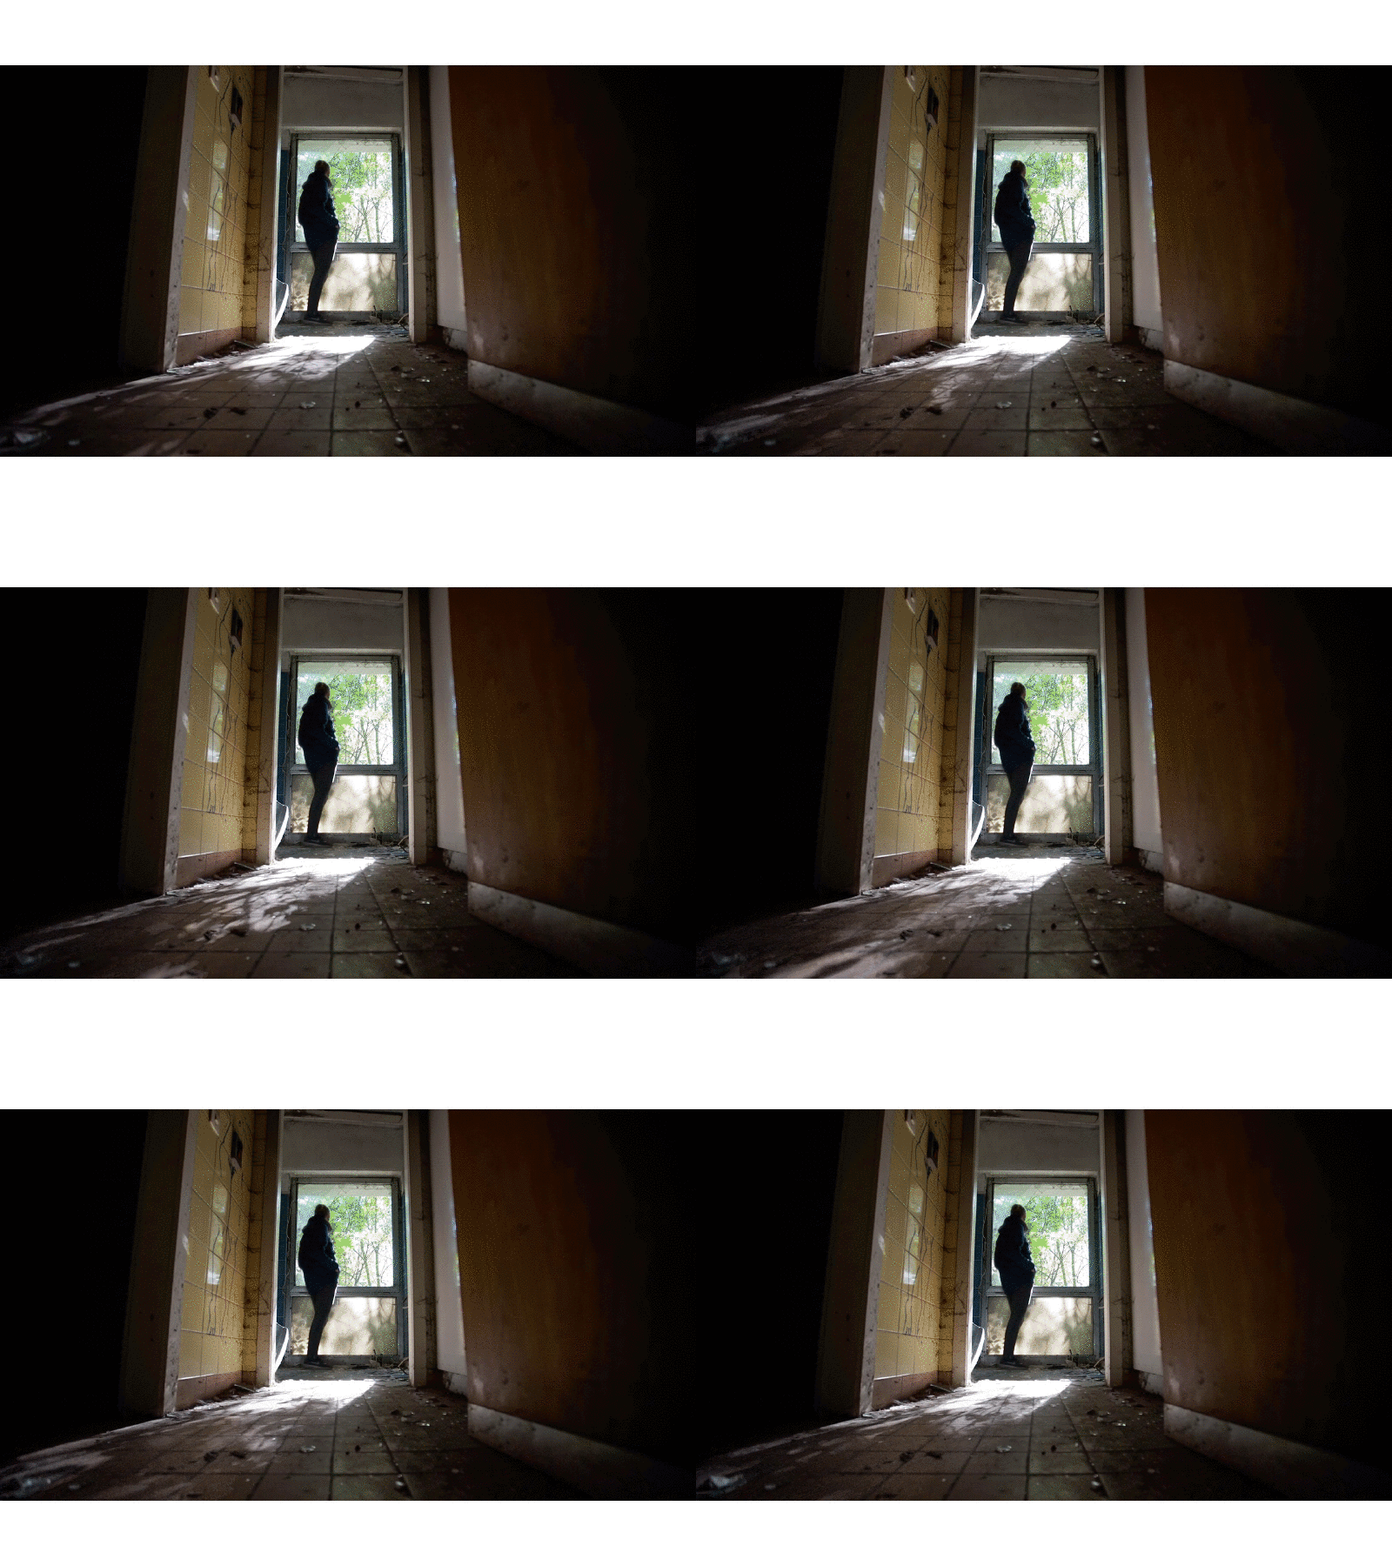
I have to start with a disclaimer: I love old and abandoned houses. The composition used for this image highlights a “frozen in time” theme, which is perfect combined with the mid-20th century features of the home. The shadows from tree leaves add a soft, natural rhythm that focuses on the dilapidated flooring and wall graffiti. The person in the background makes the piece feel less “spooky,” but any movement by the person would distract from the primary intent of the piece.
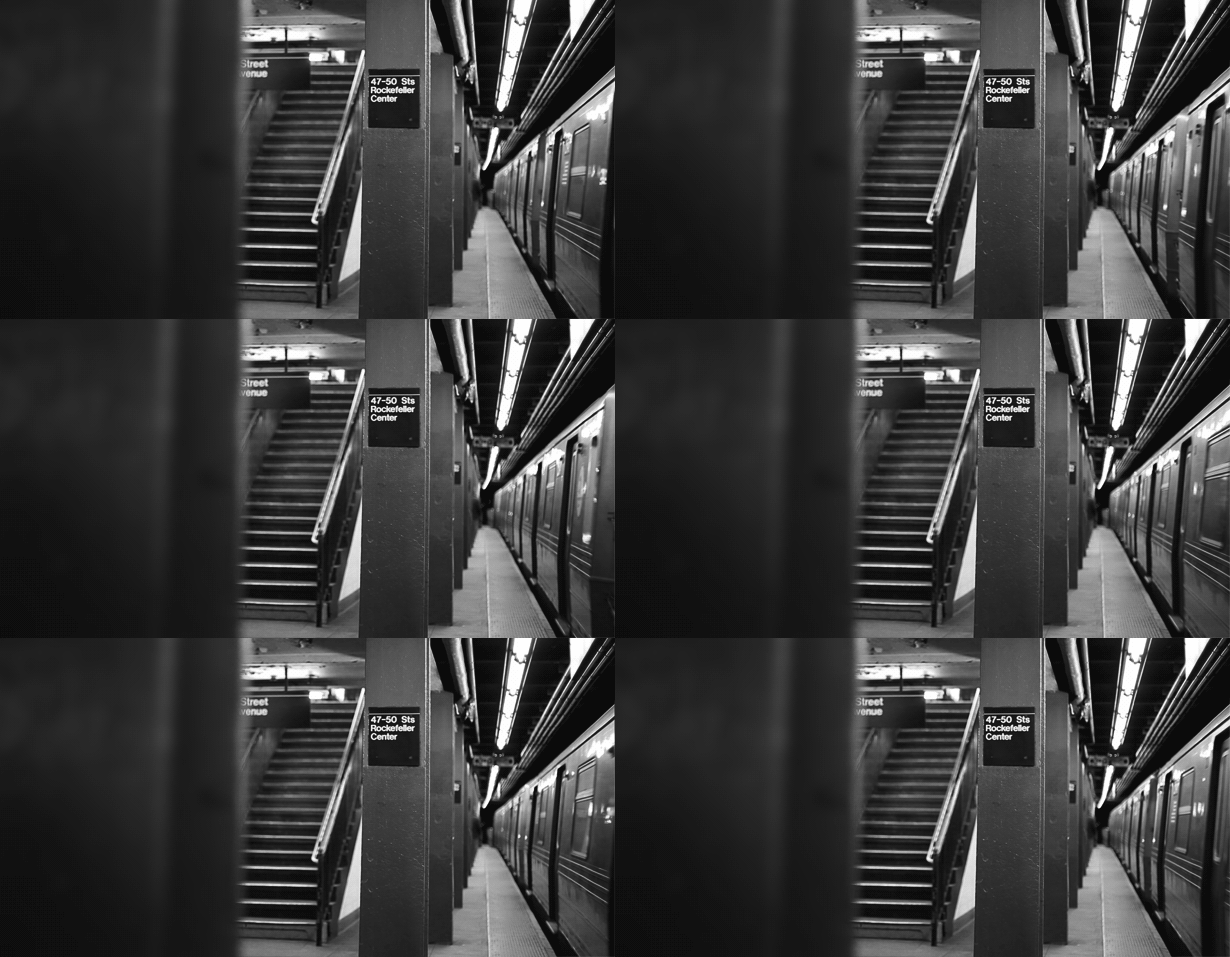
I lived in Manhattan for about a year and a half, so I promise this illustrates how it feels trying to catch a subway that won’t stop for long and certainly won’t wait for you. I like the black-and-white filter added to bring the audience back in time.
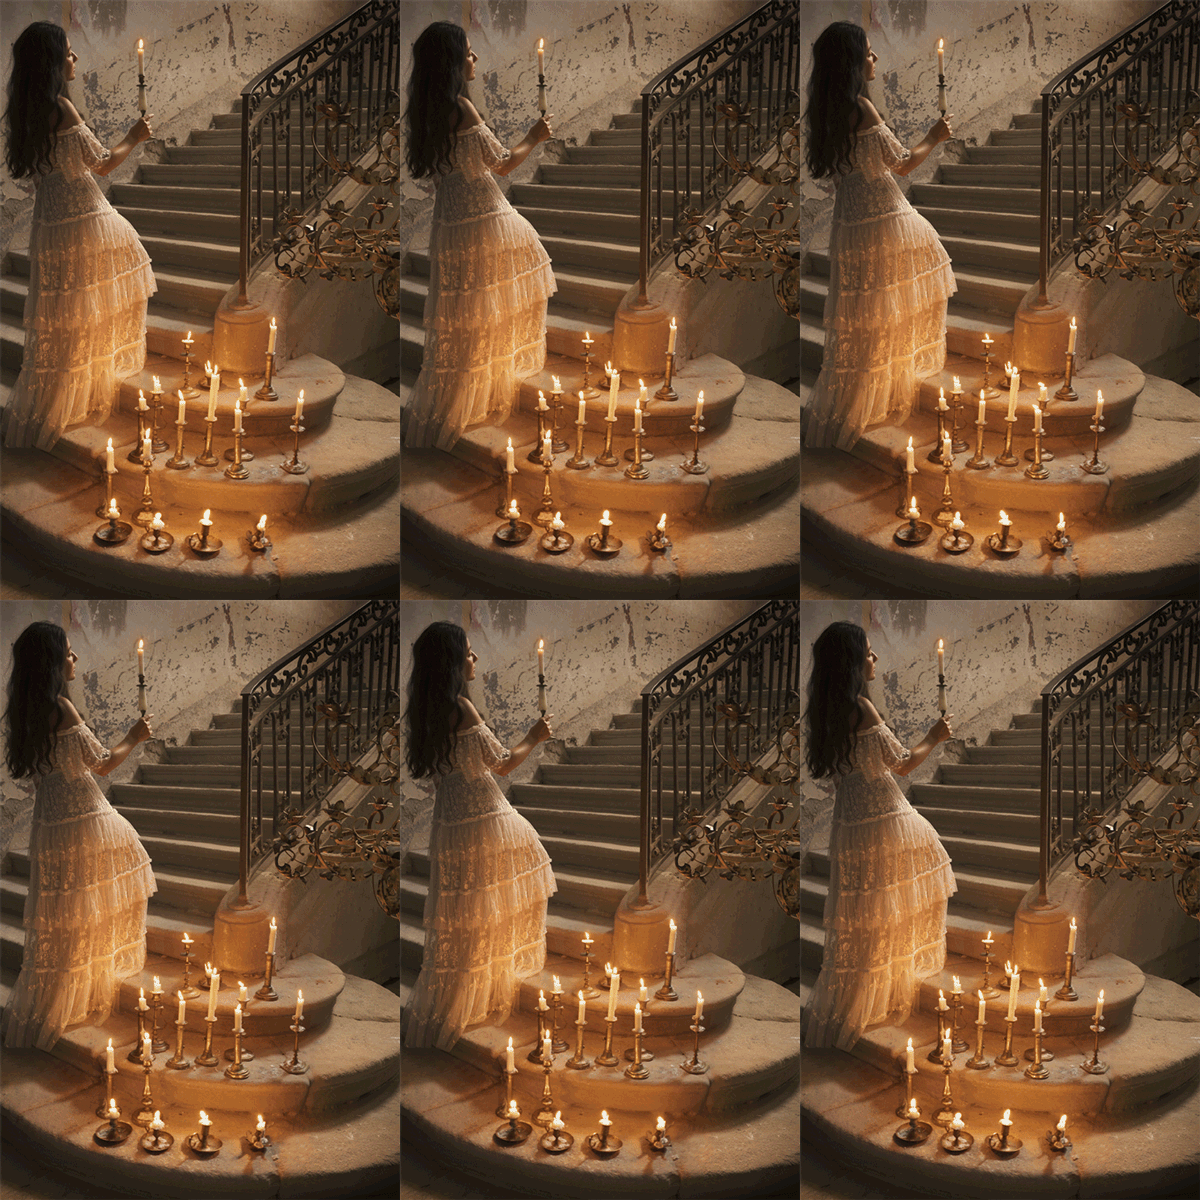
I saved my favorite for last: a beautiful setting, model, idea, and composition. Each piece of this puzzle comes together smoothly and elegantly, from the soft lace on the dress to the delicate flickering of the candles to the clearly once-loved staircase and lovely handrails. The flickering of the candles is an excellent choice for adding living movement because adding motion to her hair or dress would be too distracting in this piece.
Credit to Kevin Burg and Jamie Beck.
Create
While researching cinemagraphs, I thought about which pieces inspired me most. Although ideal, recording in a beautiful, antique stairwell surrounded by candles with the perfect amount of golden hour light is not plausible for me, so this idea was eighty-sixed quickly. However, with my resources, I could feasibly arrange a few options. I wanted three distinctly different actions and completed designs:
A still person with the natural space moving.
A still setting with a moving person.
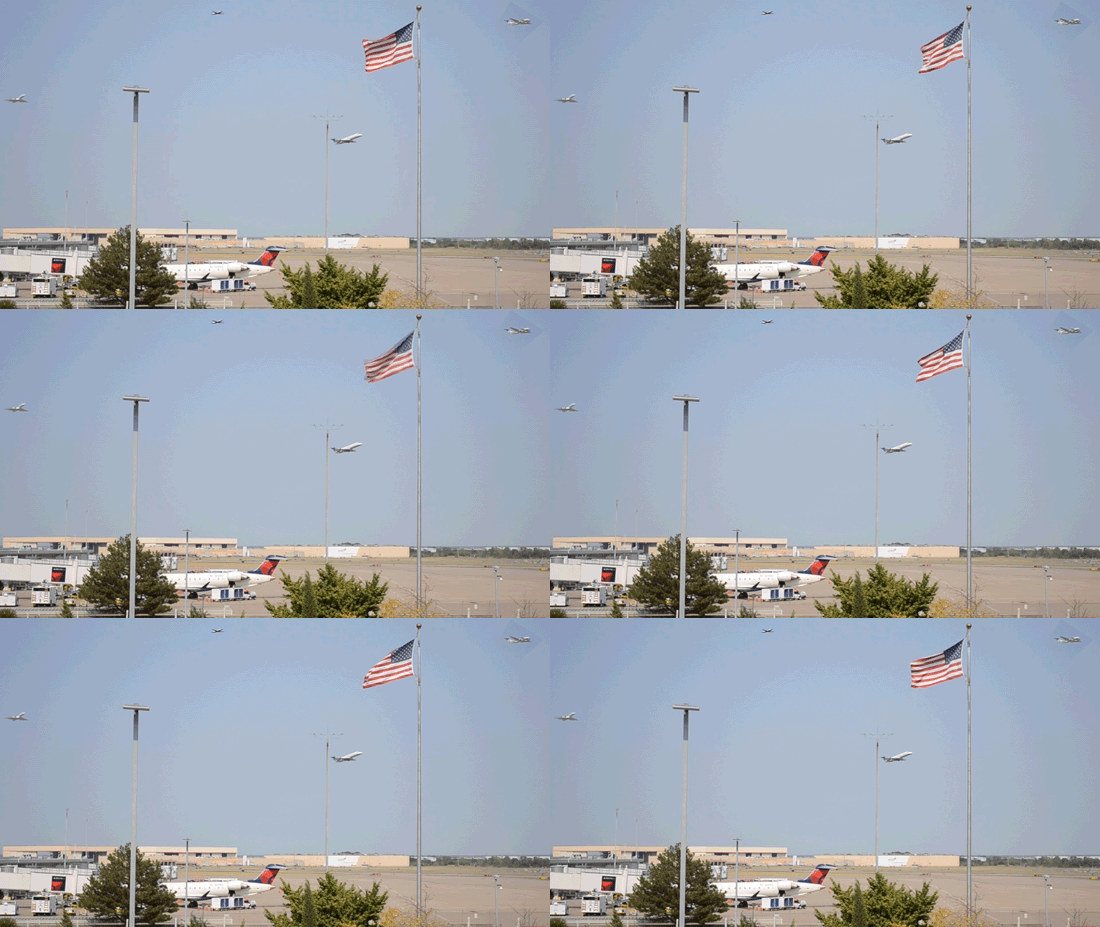
Airplane takeoff. (Inspired by an admiration for aeronautics.)
The Secret Garden
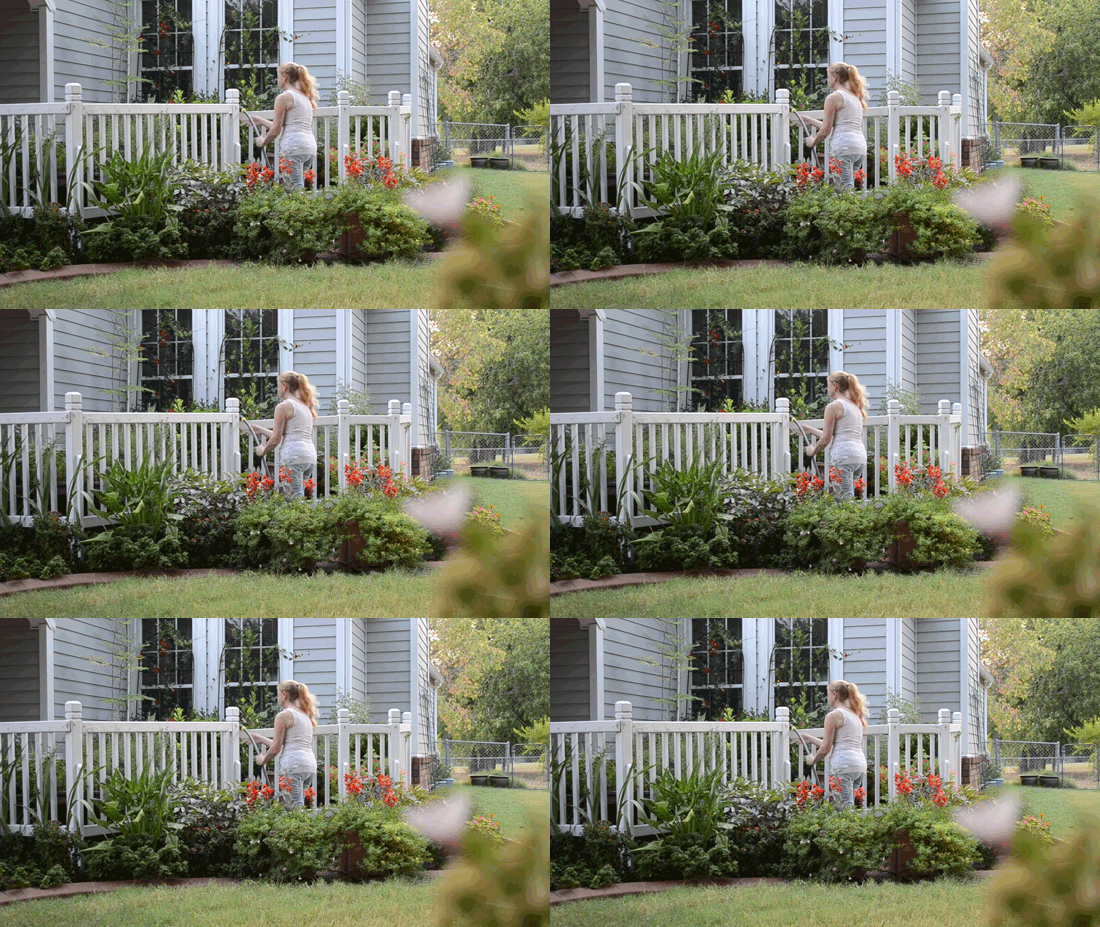
In this piece, my generous family friend let me record her watering her garden. Everything moved significantly with the Oklahoma wind, so I needed enough footage to capture a few seconds of gentle motion. The recording ended up being about four minutes long, and I spent more time scrubbing through footage for the best few seconds to use. Then, in Adobe Photoshop, I duplicated the paused video for my still image and pasted this to a new layer.
Due to video lagging, I cut the footage down to about fifteen seconds of usable garden movements. Then, I selected my still image layer and used “Select and Mask” to choose the sections I wanted to keep (Select > Select and Mask). Initially, I tried to freeze the Amaranth plant on the lefthand side of the screen and the subject and neighboring house. I noticed that the bushes didn’t move much throughout the video, but the Amaranth swayed behind the still image. So, I chose to freeze the bushes, trees, and person, instead. The resulting image featured the movement of the Amaranth and taller portions of the garden.
I cut down the video length again, this time to a little more than three seconds. I also had to shorten the duration of the still image layer to match. At the end of the three-second video, the frame jolted noticeably to the beginning of the looping sequence. To fix this, I cut the footage approximately in half on the timeline. I moved the second half to the starting point and aligned the first half to follow it. With the footage jolting in the middle, I joined the two sections with a one-second-long crossfade.
Prepare for Takeoff
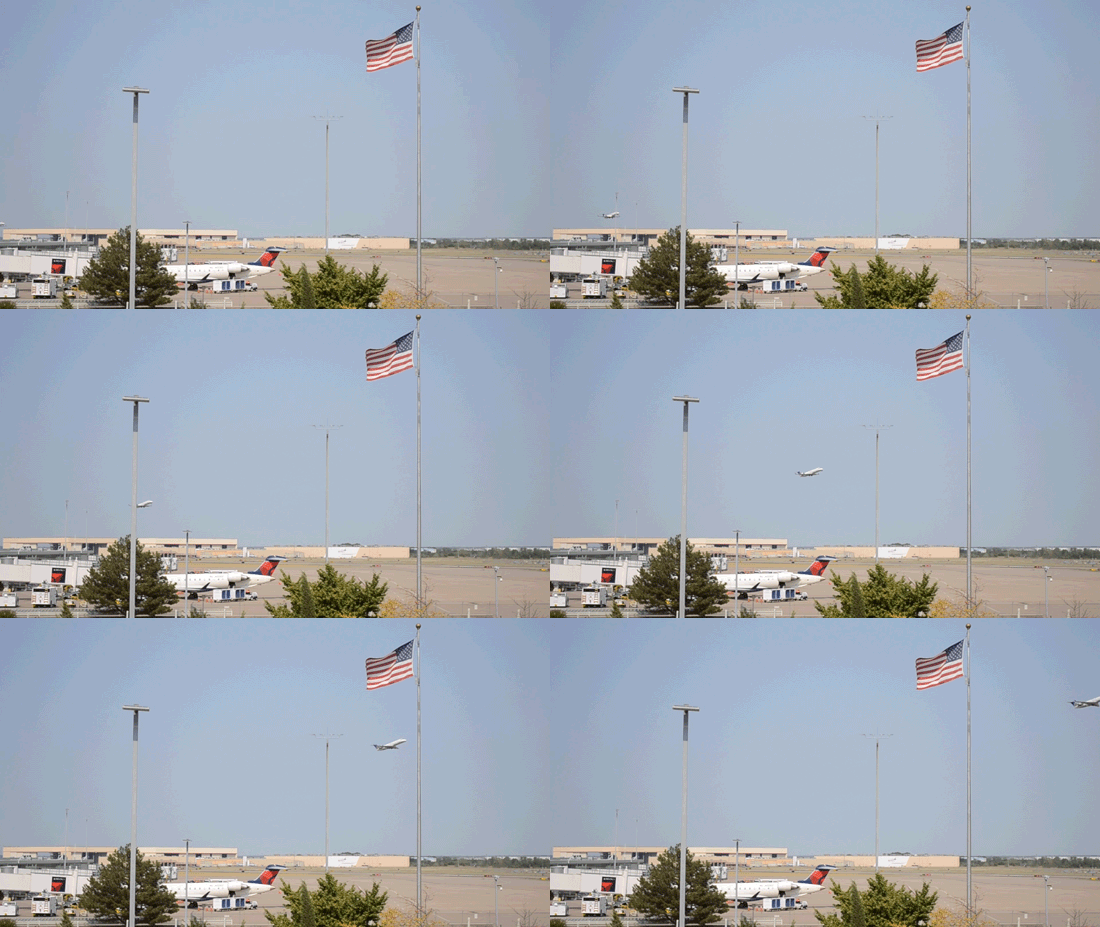
I waited outside the local airport to capture a few moments of airplanes taking off for these two pieces. I ended up with four videos of takeoffs but used three just for stills. Next, I opened my video of the larger plane takeoff in QuickTime Player and trimmed it to the correct length.
Then, in Adobe AfterEffects, I opened my trimmed video and started scrubbing for a good frame to freeze. After duplicating the video layer, I chose a frame where I could see folds in the flag. Then, I set the layer to freeze-frame in the time panel. Next, I hid the video layer and began creating a mask around the parts of the still image that would need to disappear for the video to show through. The wind shook my camera enough that the mask narrowed around the poles exposed the moving poles during the first six frames of the video. So, I duplicated the still image layer and deleted the mask. Next, I created a new mask on this layer that exposed only the beginning six plane takeoff frames. Then, I set the new layer to end at the seventh frame, so the moving poles aren’t visible.
In the second cinemagraph from this takeoff video, I wanted only the flag to move. So, in a new project file in AfterEffects, I scrubbed the large airplane video to find a still image where the plane is close to the flag. From my other three videos of small planes, I used still images where the planes were near the screen borders. Then, I created masks in each of the small plane stills to show only the individual planes. Finally, with the larger plane image, I made a mask to encompass everything on the screen, except for the area around the flag.
I scrubbed the flag video for a few seconds of footage that would start and end with the flag in similar positions, which turned out to be very difficult. Next, I duplicated the footage layer and decreased the opacity to 40% on the top layer. Then, I moved the time cursor over the top layer to find a starting position with a mostly open flag. I trimmed the beginning of both layers to meet this point. Next, I dragged the lower layer until I found where the two flags were relatively close. Then, I trimmed back the lower layer for the ending position and lined up the starting point of both layers. I trimmed the top layer to the halfway mark on the lower layer and then cut the lower layer to meet the halfway point.
I returned the top layer to full opacity, then moved the lower layer to the beginning of the composition. I dragged the top layer to meet the end of the lower layer. Next, I returned a few frames to the front of the top layer to create a fade. I used the “Fade In over layer below” preset on the top layer to create a somewhat subtle fade-in.
Into the Woods
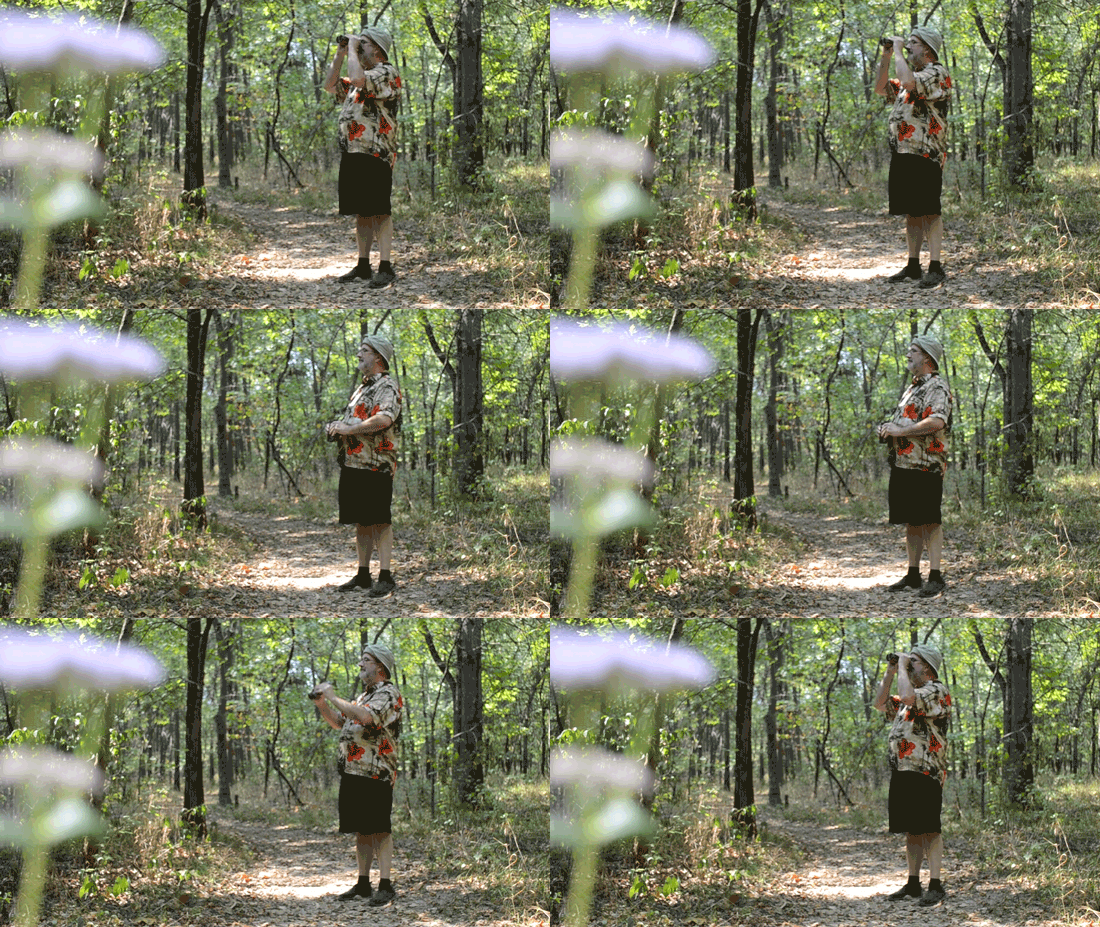
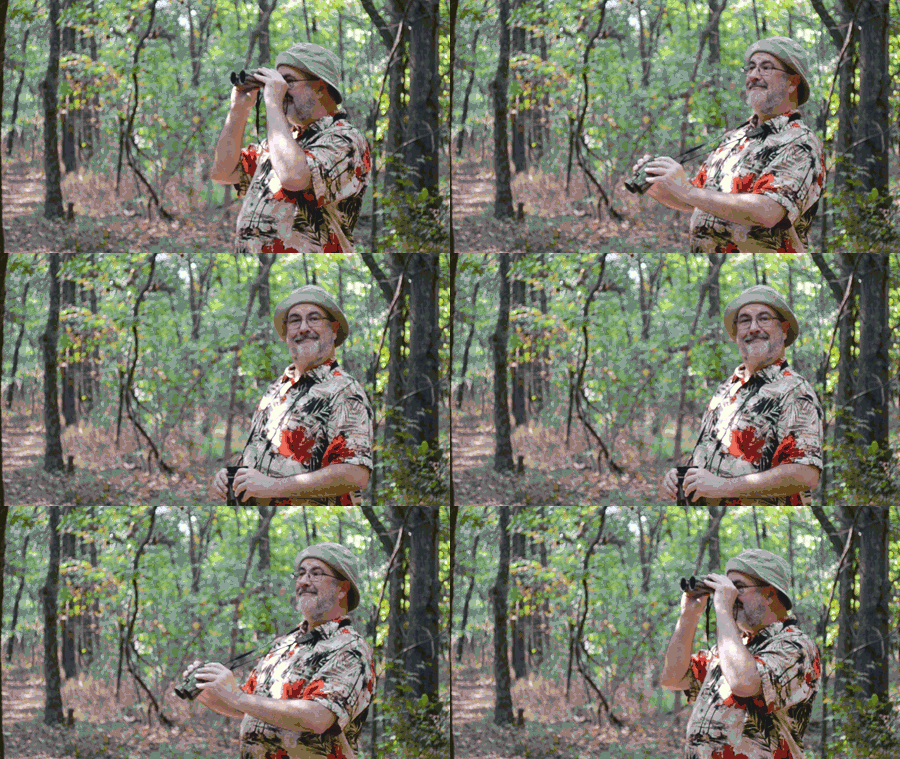
Onto those final two cinemagraphs: my father, Larry, does all sorts of goofy YouTube videos. His main characters are Marty J. Maxwell and Mister Larry on his Rothline channel. Coincidentally, our setting for this adventure is one of the locations used in his Mister Larry Visits Bigfoot video. I took three videos of him: one with him holding up his binoculars and lowering them down, another where he looks to the camera while lowering the binoculars, and the third where he runs in circles (this did not get used, but is hysterical). I trimmed all of these to the appropriate lengths for creating cinemagraphs.
(Not a cinemagraph, just for fun.)
For the first of these cinemagraphs, I opened the first video in AfterEffects. Then, I duplicated the video layer thrice and created a freeze-frame where Mister Larry holds up the binoculars and a freeze-frame where he sets them down. Then, I hid those two layers and created a mask on my third duplicate to eliminate the vicinity around Mister Larry. Finally, I hid this layer to scrub the footage for the best section for the cinemagraph.
I trimmed back the footage to start a few frames before he starts to lower the binoculars and ended the footage just after he fully lowers the binoculars. I duplicated the video layer and created a time reverse setting. Then, I edited the time stretch to 70 and -70 on each video. Next, I moved the stills of Mister Larry holding up the binoculars and lowering them to the bottom layers. I started the first video five frames after the start of the composition, followed by the reversed video five frames after the end of the first video.
I stretched the still of Mister Larry holding up the binoculars from the beginning to five frames following the end of the reversed video. Then, I set the still of him lowering his binoculars to encompass the gap between the two video layers. I stretched the masked still image from the beginning of the first video to the end of the reversed video. I followed the same process in the second piece but edited the time stretch to 50 and -50.
I hope you have fun practicing with these! I've found that some people are very willing to participate and others have to be voluntold.

